
An email is often the first real interaction that a potential client/customer will have with a business. Having a professional signature in your emails will make a lasting impression to the lead as well as enhance your brand awareness. In this post, we will explain and show a step-by-step guide on how to create a custom Gmail signature.
In our last post we explained on how to create an email for your domain and integrate it to your Gmail. You can view this post, here. After this tutorial, not only will you have all your email accounts under one umbrella with Gmail but you will also have a nice email signature to leave a lasting impression!
Elements Needed For The Custom Gmail Signature
Listed below are all of the elements you will need to put together this custom gmail signature:
- Logged Into Your Gmail
- Microsoft Word
- Company Logo (If Applicable)
- Picture Of You (Good Logo Alternative)
- Social Icons (If Applicable)
Log Into Your Gmail
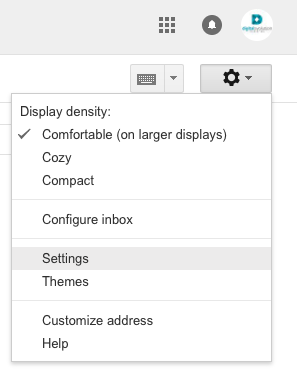
Once you are logged into you Gmail account, click on the “Tools” icon than click on “Settings”
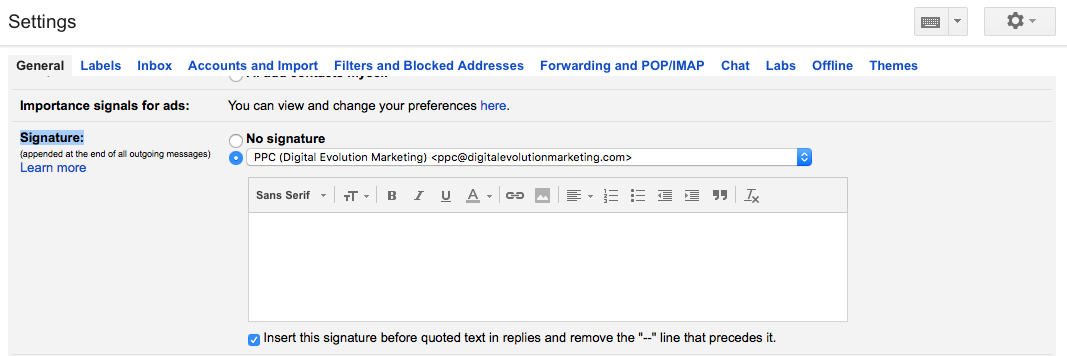
Once you are within the “Settings,” stay on the “General” tab. Scroll down the tab to the “Signature” section. Select the email account which you would like to create the custom Gmail signature. If you added your domain email to your gmail, you will find your added domain email in the dropdown box. You can now minimize your Gmail window, as we will be moving onto Microsoft Word!
Open Up Microsoft Word
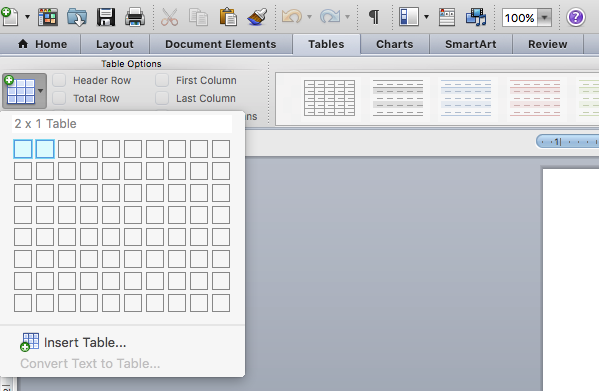
Now you can start working on your custom signature! Once you open up Microsoft Word, create a one row and two column table. One column will be used to place your logo or picture, and the second column will be used for the contact information.
Adding Basic Contact Information
On the right side of the table, we are going to add all of the relevant contact information.
– Name
– Title
– Address
– Number
– E-Mail
– Website, ect.
The font and font sizes that you select does not matter, because once the signature is pasted into Gmail you can only select from Gmail’s font and size choices.
Changing The Table Settings
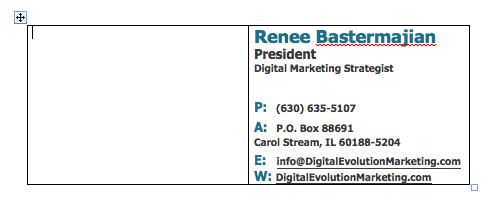
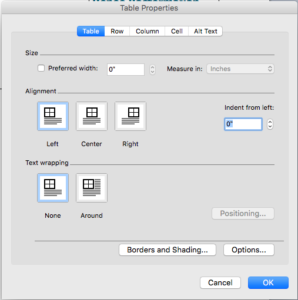
As you can see from the image above, the table created in Microsoft Word has the border. If we don’t remove this border, it will carry over into the Gmail signature when we copy and paste it. To remove this border right click the table and select “Table Properties.”

Once you have clicked into the “Table Properties,” go to “Borders and Shading” at the bottom of the pop-up screen.
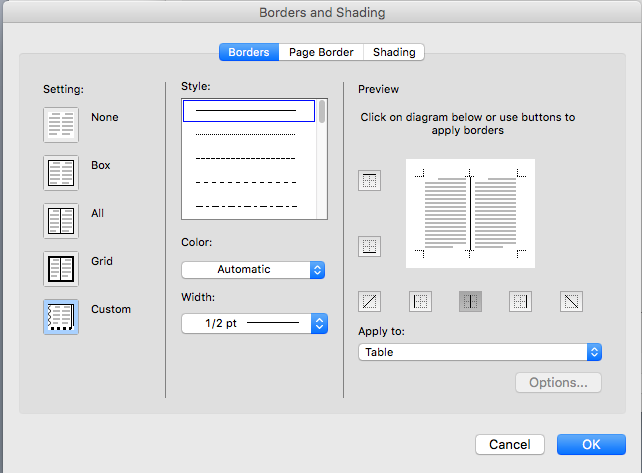
After you click into “Borders and Shading,” make sure the setting is set at “None.”
OPTIONAL: Some people like having that divider between the two columns (logo and contact information). If you would like this divider, click on the middle icon on the right side of the “Borders and Shading” pop-up. You can adjust the width and style to your liking.
After your done, click “Ok” to exit out of “Borders and Shading” and “Ok” again to exit out of “Table Properties.” At this point, you have all the contact information for your custom Gmail signature along with the table border removed. You are now ready to copy and paste this into the Gmail signature box!
Moving The Signature From Microsoft Word To Gmail
At this point you have added all your contact information, picked the colors, and adjusted the table settings to your liking in Microsoft Word. If you are happy with the design and layout, select the entire Microsoft Word document and right click to select “Copy.”

Go back to the Gmail window that you minimized earlier. In the signature box, right click and select “Paste.” Now there are a couple things we will need to fix with the pasted text before doing anything else. Even though your pasted signature looks fine now, the spacing will change after you save it. Gmail converts pasted text from Microsoft Word to double space. To fix this issue, first click “Save Changes” of the pasted text, as is, on the bottom of the page. Now refresh the page. Now you should see the odd spacing to the pasted text in the signature box.
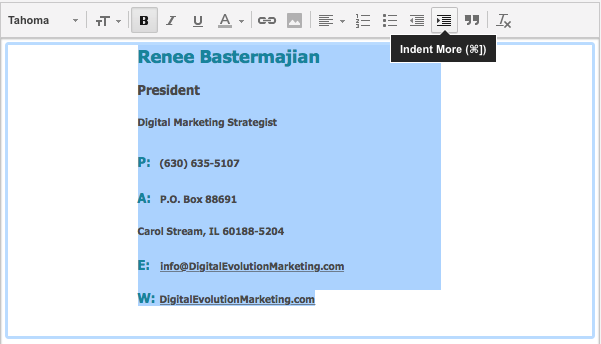
To fix this odd spacing, select all of the text in the gmail signature box. Once all the text is selected, click on the “Indent More” box, then click on the “Indent Less” box. The spacing issue should be fixed, but you may need to play around with the formatting of the text.
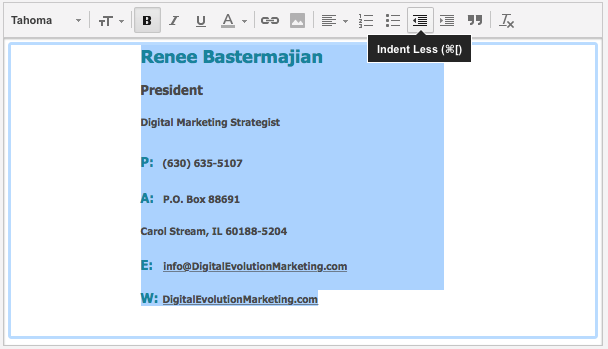
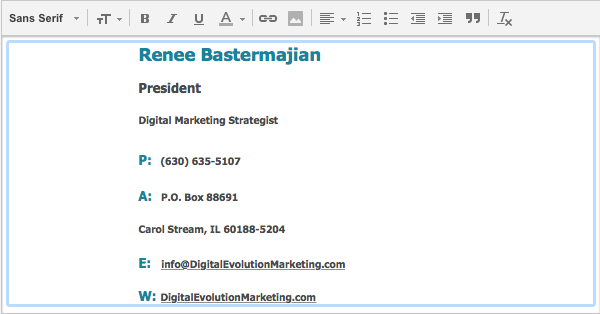
Below is what the signature template should look like after fixing the spacing issue. Now you are ready to add your logo/picture on the left side!

Adding The Logo Or Picture
On the left side of the two columns you can add your logo or picture. To add your logo or picture, go a website that has the file you need. If you are adding your company logo, you probably have the logo on your domain. In the snapshot below, I am using the logo from my official website. Right click on the logo and select, “Copy Image Address.”
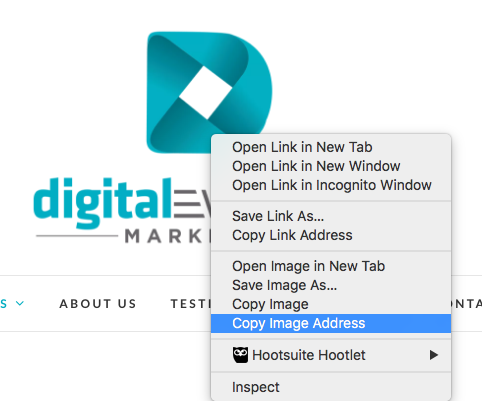
After you click on “Copy Image Address,” you will go back to the Gmail signature window, click into the left side of the table box and select the “Insert Image” icon.
![]()
After you select “Insert Image,” you will go to the “Web Address (URL)” section and paste the image address and just copied from the domain. After you paste the image address, click on “Select.”
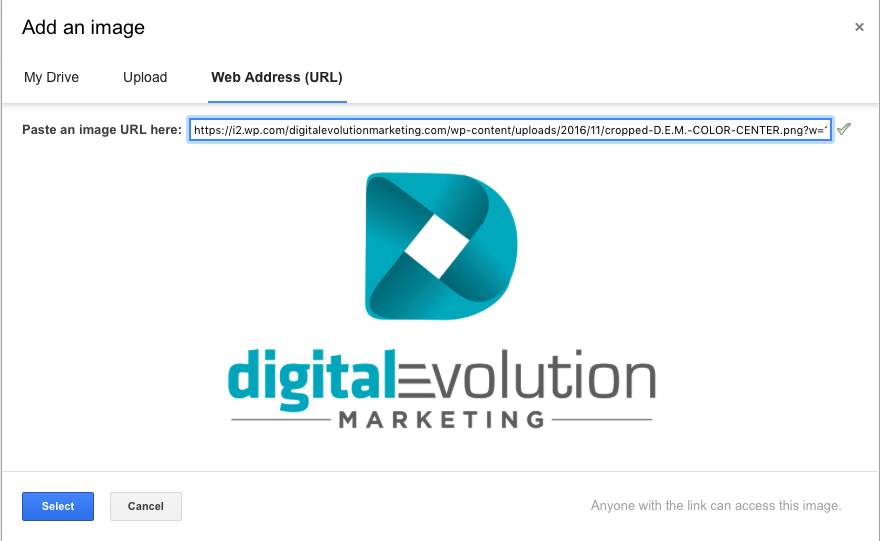
You might need to click on the logo and adjust the image size but below is what the custom Gmail signature should look right now.
![]()
If this is all the information and elements you are looking for, than you are done and can click “Save Changes.” We are going to add a little more and finalize this custom gmail signature with a few social media icons and the bottom of my contact information and link it to the proper accounts.
Adding The Social Media Icons
You can go on Google and search, “free social media icons” where you will be pointed to several sites for different choices of styles. One site that we personally LOVE using is, iconmonstr.com. We love this site because you can customize the size of the icons and the colors! For the gmail signature the icons should be set at 24 to 32 pixels. You do not want the icons to be too big and over-power the signature as a whole.
To add all of the social media icons to the signature, we will be going through the same exact process as we did for the logo earlier. Once you search for the icon you are looking for and design it to your liking, right click on the finished product and select “Copy Image Address”. Go back to the Gmail signature, click on “Insert Image” and paste the copied web address.
Once your icon is added to the signature, you can then select it and link it to the url address of that specific social media account.
![]()
DONE!
You now have an awesome and custom signature for all your emails linked to your Gmail account, enjoy!