If you found this post because something suddenly stopped working with your business email in Gmail, you’re in the right place.
A while back, I published a complete guide on how to integrate your domain email to Gmail using a method called POP3. It was a great setup: you could receive and send emails from your business address right inside your Gmail inbox without ever logging into a separate account.
Well, Google has changed things.
Starting January 2026, Gmail is phasing out POP3 fetching for third-party accounts. If you followed my original tutorial, the “Check Mail From Other Accounts” section of your Gmail settings is going away. You’ll need to switch to a different method, and the good news is, it’s actually simpler than the old way.
Let’s walk through exactly what to do.
What Google Is Changing
Google officially announced the end of two features:
- POP3 Mail Fetching: The “Check mail from other accounts” option in Gmail Settings → Accounts and Import is being removed.
- Gmailify: The feature that applied Gmail’s spam filtering and inbox organization to linked third-party accounts.
You can read Google’s official announcement here: support.google.com/mail/answer/16604719
The good news is that all your existing emails stay in Gmail. Nothing gets deleted. You just need to update how new emails flow in going forward.
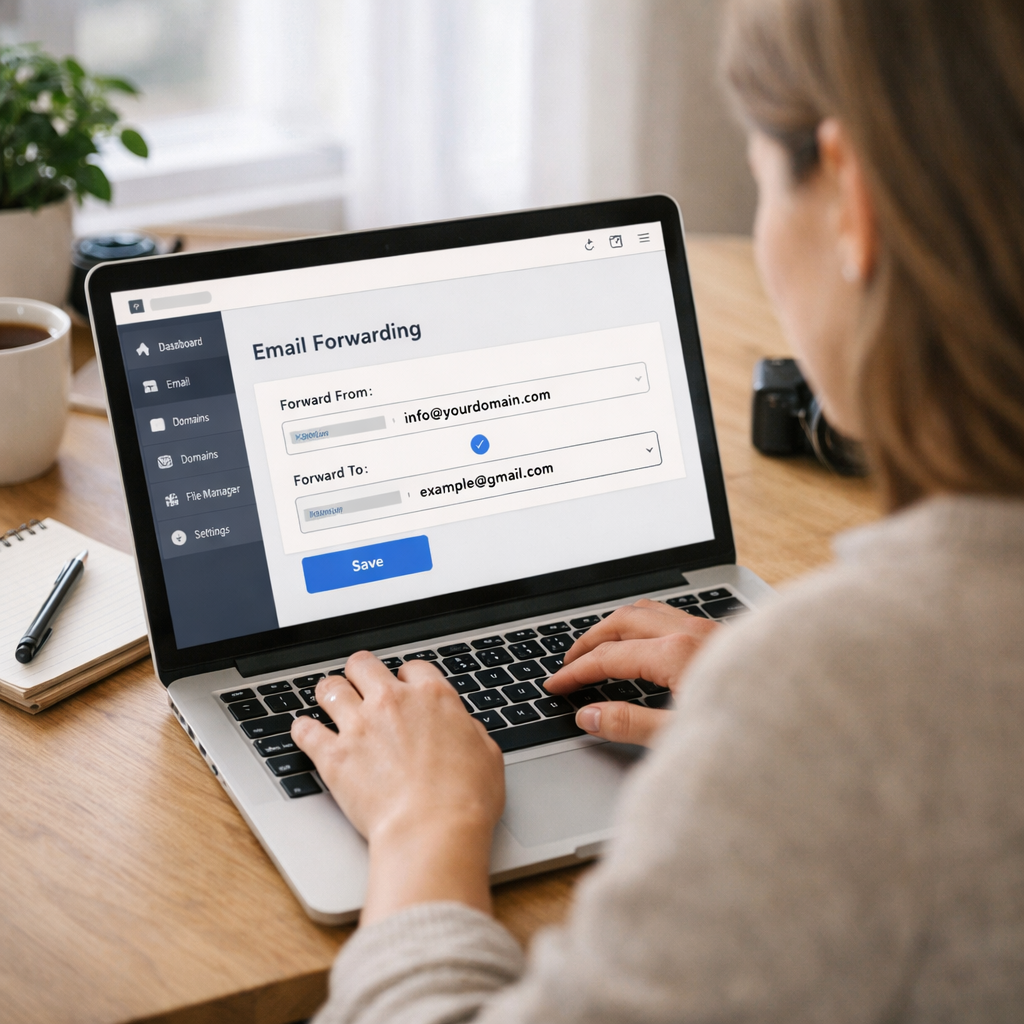
The Fix: Switch to Email Forwarding
Instead of Gmail reaching out to pull your emails in (POP3), you’ll now set up your hosting account to automatically push emails to your Gmail as soon as they arrive. This is called email forwarding, and it’s instant. Emails will arrive in seconds instead of the 30–60 minute delay you may have experienced with POP3.
Here’s how to do it based on your hosting provider:
HostGator
HostGator uses cPanel, which makes this straightforward.
- Log into hostgator.com to Customer Login followed by Portal Login.
- Click Launch cPanel.
- Scroll to the Email section and click Forwarders.
- Click Add Forwarder.
- In the “Address to Forward” field, type the username of your email (example: info).
- Select your domain from the dropdown.
- Under Destination, select Forward to email address and enter your Gmail address.
- Click Add Forwarder.
- Repeat for each additional email address you want to forward.
Bluehost
Bluehost also uses cPanel but has two dashboard versions: a classic layout and a newer simplified one. Either way, the process is the same.
- Log into your Bluehost account at bluehost.com.
- In the left sidebar, click Advanced (or look for the cPanel link depending on your dashboard version).
- Under the Email section in cPanel, click Forwarders.
- Click Add Forwarder.
- In the “Address to Forward” field, type your email username (example: info).
- Select your domain from the dropdown.
- Enter your Gmail address as the destination.
- Click Add Forwarder.
- Repeat for each address you want to forward.
Hostinger
Hostinger uses their own control panel called hPanel. It looks a little different but works the same way.
- Log into your Hostinger account at hpanel.hostinger.com.
- From the dashboard, click on Emails.
- Click anywhere next to the domain you want to manage.
- On the left sidebar, click Forwarders.
- Click Create a Forwarder.
- Select the mailbox you want to forward from the dropdown.
- Enter your Gmail address as the destination.
- Toggle on or off whether you want to keep copies on the Hostinger server.
- Click Create. You may receive a verification email at your Gmail to confirm.
- Repeat for each email address.
GoDaddy
GoDaddy has a couple of different setups depending on whether you’re using their cPanel hosting or their Email & Office (Microsoft 365) product.
If you’re on GoDaddy cPanel hosting:
Log into your GoDaddy account and go to My Products.
Under Web Hosting, click Manage next to your hosting plan
Click cPanel Admin from the dashboard
In cPanel, scroll to the Email section and click Forwarders
Click Add Forwarder and follow the same steps as HostGator above
If you’re using GoDaddy Professional Email or Microsoft 365:
- Log into the Email & Office Dashboard at GoDaddy.
- Click Manage next to your email address.
- Go to Forwarding.
- Enter your Gmail address as the forwarding destination.
- Choose whether to keep a copy in your GoDaddy inbox.
- Save your changes.
Namecheap
Namecheap handles email forwarding a little differently depending on whether you’re using their free email forwarding feature or their Private Email service.
If you’re using Namecheap’s free email forwarding:
- Log into your Namecheap account at namecheap.com.
- Click Domain List in the left sidebar and click Manage next to your domain.
- Scroll down to the Redirect Email section.
- Click Add Forwarder.
- In the Alias field, type your email username (example: info).
- In the Forward to field, enter your Gmail address.
- Click the checkmark to save.
- Repeat for each address.
If you’re using Namecheap Private Email:
- Log into your Namecheap Private Email webmail.
- Click the Gear icon in the upper right to Settings.
- Click the Mail menu to Auto Forward.
- Enter your Gmail address and toggle auto-forwarding on.
- Click Apply changes.
InMotion Hosting
InMotion Hosting uses cPanel, so the steps are nearly identical to HostGator and Bluehost.
- Log into your InMotion account and click AMP Login.
- From your account dashboard, scroll down and click cPanel.
- In cPanel, scroll to the Email section and click Forwarders.
- Click Add Forwarder.
- In the “Address to Forward” field, type your email username (example: info).
- Select your domain from the dropdown.
- Under Destination, choose Forward to email address and enter your Gmail.
- Click Add Forwarder.
- Repeat for each address you want to forward.
Test It Before You Delete Anything
Once you’ve set up forwarding, send a test email to your business address from a different account. If it arrives in your Gmail inbox within a minute or two, your domain email to Gmail forwarding is working correctly.
One tip: forwarding is instant, while POP3 fetches on a delay. So if your test email arrives quickly, that’s forwarding at work.
Once you’ve confirmed everything is working, go to Gmail → Settings → Accounts and Import. Find the “Check mail from other accounts” section and delete your old POP3 entries.
Watch Out for Spam Filtering
One thing to be aware of: forwarded emails can sometimes land in your Gmail spam folder at first. Gmail sees them coming from your hosting server rather than the original sender and gets suspicious.
Not to worry though, the fix is easy! To create a Gmail filter:
- Go to Gmail Settings to Filters and Blocked Addresses.
- Click Create a new filter.
- In the To field, enter your business email address.
- Click Create filter.
- Check Never send it to Spam.
- Click Create filter.
Repeat for each business address. Also open any emails that landed in spam and click Report not spam to help train Gmail going forward.
What About Sending From Your Business Email?
This change only affects receiving email. If you already have your business email set up under Gmail’s “Send mail as” section (using SMTP), that part still works exactly the same and doesn’t need to change.
If you haven’t set that up yet and want to be able to send emails from your business address inside Gmail, that’s a separate step. Send us a message and I’ll walk you through it.
You’re All Set
Switching from POP3 to email forwarding is actually an upgrade. It’s faster, simpler, and you’re no longer dependent on Gmail polling your hosting account on a timer. Once it’s set up, your business emails will flow into your Gmail inbox just like they always have.
If you get stuck on any of these steps, feel free to reach out!
Want help setting up or maintaining your business website and email? Digital Evolution Marketing serves small businesses throughout Chicagoland. Get in touch!